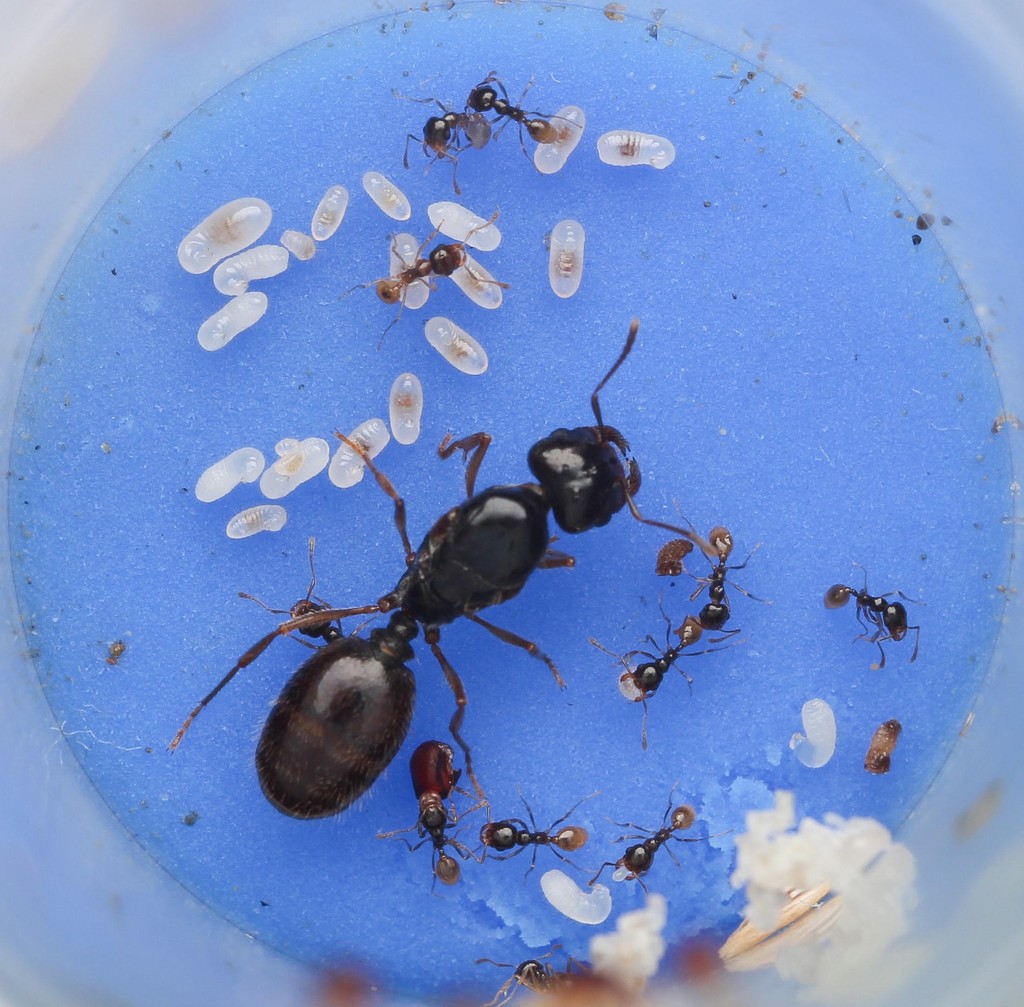
How To Set Up A Test Tube With A PVA Sponge
The test tube setup is the first thing most ant-keepers keep a colony in, and it's still the industry standard. A tube, water reservoir on one side, and something separating your ants from the water reservoir.
Here's how we do it, start to finish.
What You Need
Nothing fancy.
Filling The Tube
Lay the tube upright in a mason jar or other similar container.
Fill the test tube about 2/3 of the way with water. You don't need to be exact, but you're aiming for the water to be slightly above where the sponge will sit.
Our Method:
Insert the dry sponge on the rim of the tube, slightly off-center, so that one edge catches the inside of the glass.
Gradually apply a gentle twisting pressure downward, allowing the sponge to screw itself in. The TJL Sponges are cut for a snug fit to reduce flooding in the test tube, so you will need to use some force here.
Once one side of the sponge is fully inside the tube, push the sponge the rest of the way down. You want to push the sponge far enough that the sponge appears fully saturated while not allowing for any standing water in the tube. Standing water can be dangerous for your ants!
If you push the sponge down too far, such that water pools in the space your ants will occupy, allow the tube to dry before moving ants in.
How Far Down To Push It
About 2/3 of the way is standard practice.
Everything behind the sponge is your water reservoir. Everything in front of it is where your ants live. If the water reservoir is too small, the test tube can prematurely dry out, forcing you to move your ants. If the water reservoir is too big, your ants will be cramped for space and may require a nest sooner than they otherwise would.
Plugging The Entrance
Pinch a cotton ball into a cylindrical plug and push it into the mouth of the tube.
The cotton needs to be firm enough to withstand the ants potentially chewing and tightly packed enough to retain the humidity inside the tube. We suggest using a TubeDock if placing the test tube in a Foraging Area.
Where It Tends To Go Wrong
Three things to watch out for.
1. The tube floods. Water gets past the sponge and starts pooling on the side your ants will be on. This is usually caused by a sponge that was not setup correctly.
2. The tube dries out quickly. Usually an indication that the water reservoir was made too small or the cotton plug is not tight enough.
3. The sponge gets chewed. When stressed, some ants will try to instinctually chew their way out of the confined conditions of a test tube. If you see a lot of chewing, either on the TJL Sponge or cotton, that's usually symptomatic of underlying stress or discomfort in your ants.
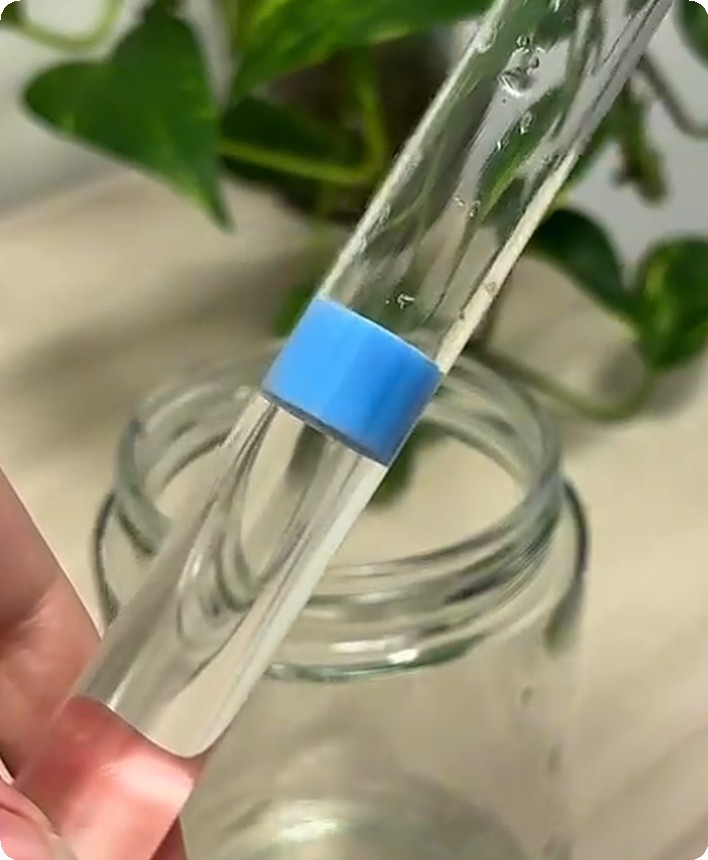 Seated properlyBoth faces sit flat across the tube. The water stops where the sponge starts.
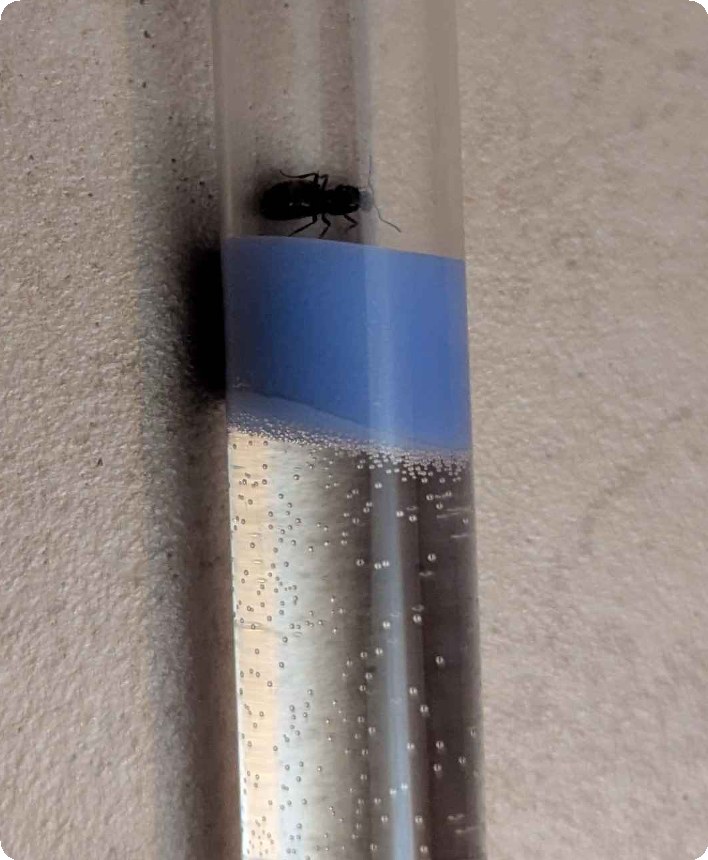 Not seated properlyOne edge went in further than the other. That slanted face is the gap water works through.
Why A Sponge Instead Of Cotton
Cotton can work, depending on the species. I, like many, started-off using cotton. Plenty of colonies have been raised using cotton to separate the water reservoir.
We've primarily moved away from cotton because it provides less humidity than most ants do best with. We treat 90–100% RH as the target for most soil-nesting species, and in our side-by-side trial against cotton the TJL Sponge tube hit those conditions consistently, unlike cotton. Cotton also molds on its own, sooner or later, and PVA sponge doesn't.